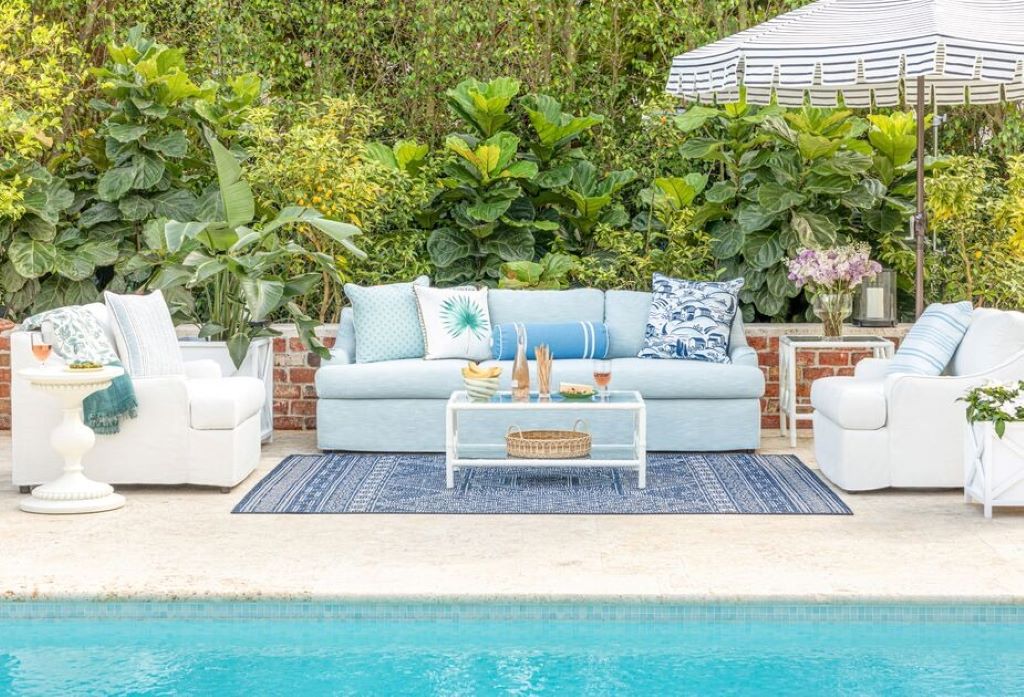

A pergola is a beautiful addition to any backyard, providing shade and a sense of outdoor living. Adding a metal roof takes it to the next level, offering greater protection from the elements and a sleek, modern aesthetic. While it might seem daunting, building a pergola with a metal roof is a manageable DIY project with careful planning and execution. To get inspired and gather tips for your project, you can explore Homeyplans blog for valuable resources and guidance. This guide will walk you through the process step-by-step.
-
Planning and Preparation
Before you start, careful planning is crucial. Consider the following:
- Location: Choose a level area with good drainage. Consider sun exposure and prevailing winds to maximize shade and comfort.
- Size and Design: Determine the dimensions of your pergola based on its intended use and the available space. Sketch your design, including the post placement, beam layout, and roof slope.
- Materials: Select durable, weather-resistant materials. Pressure-treated lumber is a popular choice for the frame, while metal roofing options include steel, aluminum, and copper.
- Permits: Before starting construction, it’s crucial to check local building codes and obtain any necessary permits. This step ensures that your project complies with regulations, promoting safety and efficiency. Additionally, if you’re working with metal roofs, consider incorporating snow diverters for metal roofs to manage snow load effectively. These diverters can help prevent excessive snow accumulation, reducing the risk of damage and enhancing the longevity of your roofing system. Always consult with local authorities to ensure all requirements are met before proceeding.
-
Setting the Foundation
A solid foundation is essential for a stable pergola. Here’s how to create one:
- Mark the Post Locations: Use stakes and string to outline the perimeter of your pergola and mark the exact location of each post.
- Dig the Post Holes: Dig holes at least 3 feet deep and with a diameter twice the width of your posts. This depth ensures stability and frost protection.
- Set the Posts: Place a layer of gravel at the bottom of each hole for drainage. Set the posts in the holes, ensuring they are plumb (perfectly vertical) and aligned. Secure them with concrete mix, allowing it to cure completely.
-
Constructing the Frame
With the foundation set, it’s time to build the frame:
- Attach the Beams: Connect the posts with horizontal beams, creating the main structure of your pergola. Use sturdy connectors like joist hangers or bolts.
- Install the Rafters: Place rafters across the beams, spaced evenly to support the metal roof. The rafters should have a slight slope for water runoff.
- Add Purlins: If using corrugated metal roofing, install purlins (horizontal supports) perpendicular to the rafters. These provide additional support for the roofing panels.
-
Installing the Metal Roof
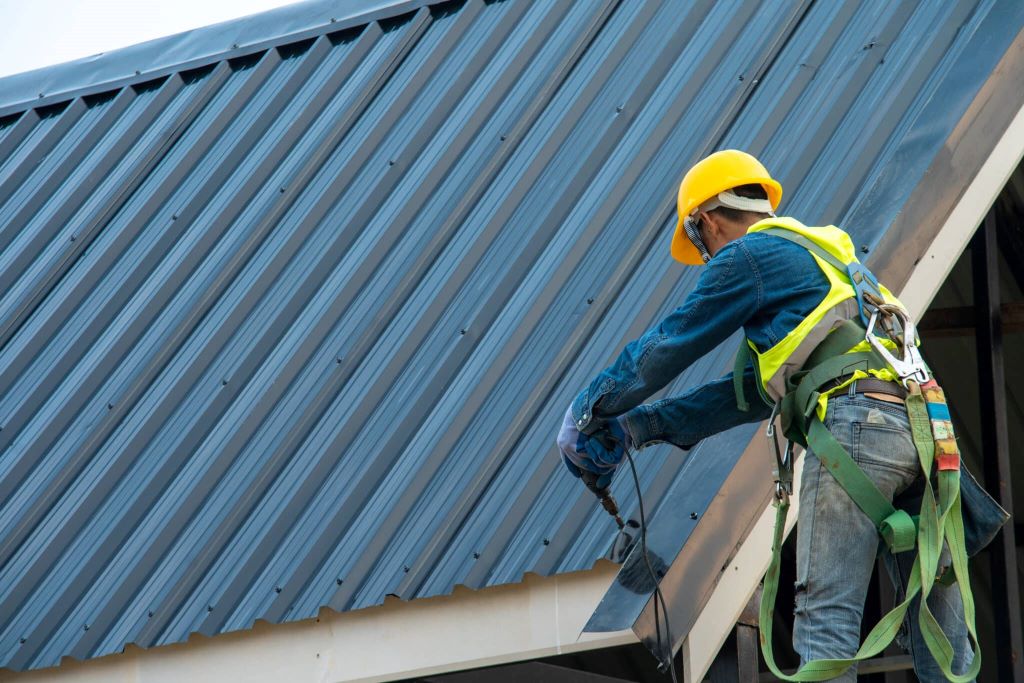
Now for the crowning touch:
- Measure and Cut the Roofing Panels: Carefully measure the roof area and cut the metal panels to size, allowing for overhangs.
- Attach the Panels: Secure the panels to the rafters or purlins using screws with rubber washers to prevent leaks. Overlap the panels according to the manufacturer’s instructions.
- Install Flashing: Install flashing around the perimeter of the roof and any penetrations (like light fixtures) to prevent water damage.
- Add Trim: Finish the edges of the roof with trim to give it a polished look and protect the exposed edges of the roofing panels.
-
Finishing Touches
- Stain or Paint: Apply a weather-resistant stain or paint to the wooden frame to protect it from the elements and enhance its appearance.
- Add Accessories: Consider adding features like climbing plants, outdoor lighting, or curtains to personalize your pergola and create a cozy outdoor space.
Tips for Success
- Use Safety Gear: Wear safety glasses, gloves, and a dust mask when cutting and installing materials.
- Work with a Helper: Enlist a friend or family member to help with tasks like lifting heavy beams and positioning the roofing panels.
- Pre-drill Holes: Pre-drilling holes before screwing into the wood can prevent splitting and ensure a secure connection.
- Seal the Wood: Apply a sealant to the cut ends of the lumber to prevent moisture absorption and rot.
- Consider a Roof Underlayment: For added insulation and soundproofing, consider installing a layer of plywood or foam board under the metal roof.
Visual Appeal
- Contrasting Colors: Choose a metal roof color that complements your home and landscaping. Consider contrasting colors for the frame and roof to create visual interest.
- Climbing Plants: Train climbing plants like vines or roses to grow up the posts and across the beams for a touch of natural beauty.
- Outdoor Lighting: Install string lights, lanterns, or spotlights to create a warm and inviting ambiance in the evenings.
- Decorative Elements: Add decorative elements like finials, corbels, or lattice panels to enhance the visual appeal of your pergola.
You May Also Like: Fiberstone in Construction: A Balanced Look at the Material’s Strengths and Weaknesses
Conclusion
Building a pergola with a metal roof is a rewarding project that can transform your backyard into a beautiful and functional outdoor living space. By following these steps and tips, you can create a durable and stylish pergola that you and your family will enjoy for years to come. Remember to take your time, plan carefully, and prioritize safety throughout the process.