
BMX biking is an exhilarating sport that demands a well-maintained bike for optimal performance and safety. Whether you’re a seasoned rider or just starting, regular maintenance is key to ensuring your BMX bike stays in top shape. One crucial aspect of this maintenance is monitoring your BMX tyre pressure, as proper inflation ensures better control and ride quality. This comprehensive guide will provide you with essential tips and step-by-step instructions on how to keep your BMX bike running smoothly.
1. Cleaning Your BMX Bike
Regular cleaning not only keeps your bike looking good but also prevents dirt and grime from causing damage to its components.
- Gather your supplies: You’ll need a bucket, mild soap, a sponge or soft brush, a degreaser, a chain lubricant, and a clean cloth.
- Wash the frame: Mix mild soap with water in the bucket and use the sponge or brush to gently clean the frame, removing any dirt or debris. Avoid using high-pressure water as it can force water into bearings and other sensitive areas.
- Clean the chain: Apply degreaser to the chain and use a brush to scrub off any built-up grime. Rinse the chain with water and dry it with a clean cloth.
- Lubricate the chain: Apply a thin layer of chain lubricant to the chain, ensuring it reaches all the links. Wipe off any excess lubricant with a clean cloth.
- Dry the bike: Dry the entire bike thoroughly with a clean cloth to prevent rust and corrosion.
2. Checking and Adjusting Tire Pressure
Proper tire pressure is essential for optimal handling and traction.
- Locate the recommended pressure: Check the sidewall of your tires for the recommended pressure range.
- Use a tire gauge: Use a tire gauge to check the current pressure in your tires.
- Inflate or deflate as needed: Use a pump to inflate or deflate your tires to the recommended pressure.
- Check regularly: Check your tire pressure before every ride, as even small changes can affect performance.
3. Inspecting and Adjusting Brakes
Brakes are crucial for safety, so it’s important to keep them in good working order.
- Check brake pads: Inspect the brake pads for wear and tear. Replace them if they’re worn down to the wear indicators or if they’re less than 1/4 inch thick.
- Adjust brake cable tension: If your brakes feel loose or spongy, adjust the brake cable tension until they feel firm and responsive.
- Clean brake surfaces: Clean the brake surfaces on the rims and brake pads with rubbing alcohol to remove any dirt or grime that can affect braking performance.
- Test your brakes: Test your brakes after making any adjustments to ensure they’re working properly.
4. Tightening Bolts and Nuts
Loose bolts and nuts can cause components to become misaligned or even fall off, so it’s important to check them regularly.
- Use the correct tools: Use the correct size Allen wrenches and wrenches to tighten any loose bolts or nuts.
- Check all bolts and nuts: Check all bolts and nuts on your bike, including those on the stem, handlebars, seatpost, cranks, and wheels.
- Don’t overtighten: Be careful not to overtighten bolts and nuts, as this can damage threads or components.
5. Truing Wheels
Wheels that are out of form can cause a bumpy ride and affect handling.
- Check for wobbles: Spin each wheel and observe if there are any wobbles or hops.
- Use a spoke wrench: If you notice any wobbles, use a spoke wrench to adjust the tension of the spokes until the wheel is true.
- Seek professional help if needed: If you’re not comfortable truing wheels yourself, take your bike to a bike shop for professional help.
6. Cleaning and Lubricating Bearings
Bearings allow components to rotate smoothly, so it’s important to keep them clean and lubricated.
- Clean headset bearings: Remove the fork from the frame and clean the headset bearings with a degreaser. Apply fresh grease to the bearings before reassembling.
- Clean bottom bracket bearings: Remove the cranks and clean the bottom bracket bearings with a degreaser. Apply fresh grease to the bearings before reassembling.
- Clean wheel bearings: Remove the wheels and clean the wheel bearings with a degreaser. Apply fresh grease to the bearings before reassembling.
Related: Get the Most Out of Your Bike Rides: Essential Bike Repair Skills
7. Replacing Worn Parts
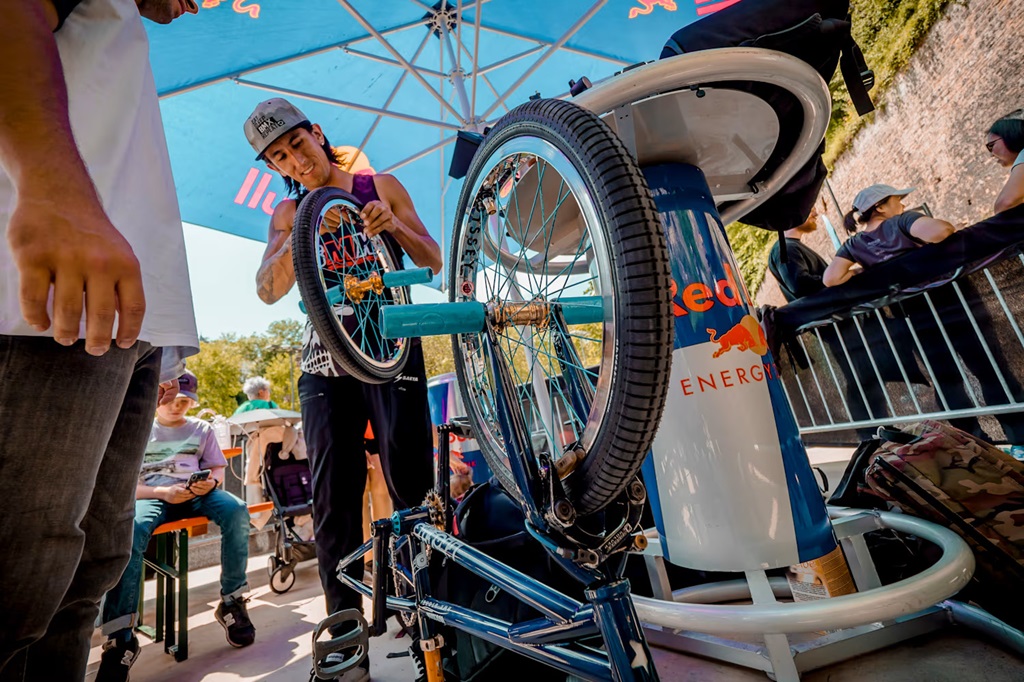
Worn parts can affect performance and safety, so it’s important to replace them as needed.
- Chains: Chains typically last 1,000-3,000 miles depending on use and maintenance. Replace your chain if it’s stretched or worn.
- Cassettes: Cassettes typically last 2,000-5,000 miles depending on use and maintenance. Replace your cassette if the teeth are worn or hooked.
- Tires: Tires typically last 1,000-3,000 miles depending on use and terrain. Replace your tires if they’re worn down to the wear indicators or if they have cuts or cracks.
- Brake pads: Brake pads typically last 500-1,000 miles depending on use and terrain. Replace your brake pads if they’re worn down to the wear indicators or if they’re less than 1/4 inch thick.
8. Storing Your BMX Bike
Proper storage can help protect your bike from damage when it’s not in use.
- Clean and dry your bike: Before storing your bike, clean and dry it thoroughly to prevent rust and corrosion.
- Store in a dry place: Store your bike in a dry place, away from direct sunlight and moisture.
- Hang your bike: If possible, hang your bike to prevent tires from flat-spotting.
- Cover your bike: If you’re storing your bike for an extended period, cover it with a bike cover to protect it from dust and debris.
9. Seeking Professional Help
If you’re not comfortable performing certain maintenance tasks or if you encounter any major issues with your bike, don’t hesitate to seek professional help from a qualified bike mechanic.
10. Riding Responsibly
Finally, remember to ride responsibly and wear appropriate safety gear, including a helmet, gloves, and knee and elbow pads. By following these maintenance tips and riding safely, you can enjoy countless hours of fun and excitement on your BMX bike.
Related: The Evolution of BMX: Lightweight Bikes for Modern Riders
Additional Tips for BMX Bike Maintenance:
- Keep a maintenance log: Keeping a log of your maintenance tasks can help you track when certain parts need to be replaced or serviced.
- Invest in quality tools: Having the right tools can make maintenance tasks easier and more efficient.
- Learn from online resources: There are many online resources available that can provide you with additional tips and instructions on BMX bike maintenance.
- Join a BMX community: Connecting with other BMX riders can be a great way to learn new maintenance techniques and get advice on specific issues.
By following this comprehensive guide and incorporating these additional tips, you can ensure that your BMX bike remains in top shape for years to come. Regular maintenance not only enhances performance and safety but also extends the lifespan of your bike, allowing you to enjoy countless rides filled with thrills and excitement. So, grab your tools, get to work, and keep your BMX bike ready to conquer any terrain!