
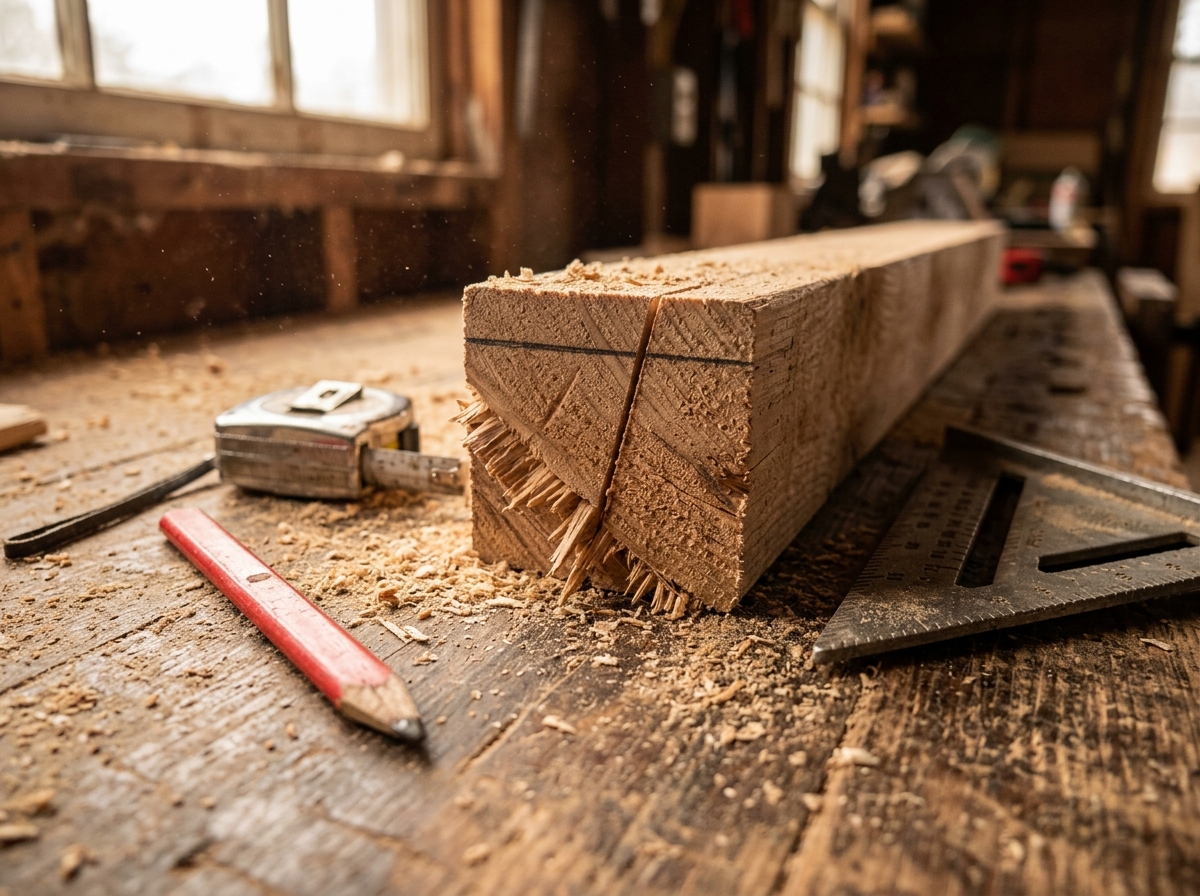
You measure once, twice, maybe even three times. You mark the line clearly. Then you cut — and the finished edge is still off by a millimeter, a degree, or an embarrassing amount that leaves you staring at the workpiece wondering what went wrong. The frustrating truth is that measuring twice only helps if the mark itself is trustworthy. One of the most overlooked culprits is the diamond marking on tape measure, a small reference feature that many people ignore because they have never been shown how it works. Once you understand how that mark, your blade, and your technique interact, crooked cuts stop being a mystery.
Quick Answer
Measuring twice fails when something other than your measurements is wrong. Common causes include misreading the tape’s diamond marks, marking with a thick pencil line, cutting on the wrong side of the line, letting the blade drift, using a dull or inappropriate tool, and not accounting for blade kerf. Measuring more carefully only helps if your mark, reference point, and cutting technique are all accurate.
Key Takeaways
- The diamond mark on a tape measure sits at 19.2 inches and its multiples, designed for even spacing of framing lumber — not for general marking accuracy.
- Marking on the wrong side of a line, using a thick pencil, or ignoring blade kerf can throw a cut off by a millimeter or more, even when the measurement was perfect.
- Crooked cuts usually come from three sources: a bad mark, a drifting blade, or a tool that is not suited to the material.
- For metal and similar materials, blade angle, blade tension, and a scribed (not penciled) line matter more than how many times you measured.
- If your cuts keep drifting, check the tool, the marking method, and your reference edge before blaming your measurements.
The Diamond Mark Is Not a Measurement Shortcut
Many people assume the diamond on a tape measure marks a “special” measurement that makes cutting faster. It does have a purpose, but that purpose is narrow. The diamond appears at 19.2 inches and every 19.2 inches after that — 38.4, 57.6, 76.8, and so on.
That number is not random. It is the spacing used when you fit five studs, joists, or rafters into an eight-foot span. Five spaces of 19.2 inches equal 96 inches, or exactly eight feet. Builders use this layout to reduce material waste and align framing members more efficiently than the traditional 16-inch spacing in certain situations.
Why the diamond does not help general cutting accuracy
If you are cutting a shelf, a piece of trim, a metal bracket, or a hobby project, the diamond is irrelevant. Using it as a reference point introduces an unnecessary variable. The mark itself is small and can be misread, especially on a worn tape or in low light. Treat it as a framing-layout tool, not a universal measurement feature.
What the diamond does teach is a useful lesson: the tape measure contains multiple reference systems, and choosing the wrong one can quietly ruin a cut.
Your Measurement Was Fine — Your Mark Was Not
A correct measurement can be ruined by a bad mark in three common ways.
Marking on the wrong side of the line
If you draw a line with a pencil, the line has thickness. Cutting on the left edge of the line versus the right edge can create a difference of 1–2 mm depending on the pencil. On a thin workpiece or a precision joint, that is enough to matter. The fix is to decide in advance which side of the line the blade should follow, and to mark with the sharpest tool the material allows — a pencil for wood, a scribe or awl for metal, a knife for some plastics and veneers.
Using a dull or blunt marking tool
A dull pencil leaves a wide, fuzzy line. A worn scribe leaves a shallow groove that is easy to miss under sawdust or glare. Both increase the chance you will cut slightly off. Keeping a sharp pencil, a fine scribe, and a small square nearby solves most of this.
Holding the tape at an angle
If the tape hook does not sit flush against the reference edge, or if the tape body tilts, the reading can be off by a small amount that increases over distance. Hook the tape on the edge, pull it straight, and keep your eye directly above the mark rather than to the side. This avoids parallax error — the same effect that makes a car’s speedometer look different to the driver and the passenger.
The Cut Follows the Blade, Not the Line
Even a perfect mark can produce a crooked cut if the blade does not stay on that mark. This is where most “I measured twice” failures actually happen.
Blade drift and flex
Hand saws, hacksaws, and even circular saws can drift if the blade flexes or binds. Thin blades flex more than thick ones. If the material is hard or the blade is dull, the saw follows the path of least resistance rather than the line you drew. A sharp blade, moderate feed pressure, and letting the tool do the work reduce drift substantially.
Kerf — the cut width you forgot to account for
Every blade removes material. That removed width is called kerf. A typical hacksaw blade removes around 0.6–1.0 mm, and a handsaw can remove 1.5 mm or more. If you mark the finished dimension and then cut exactly on the line, your workpiece ends up undersized by roughly half the kerf on each pass. For rough work, this does not matter. For joinery, metal fabrication, or anything that must fit precisely, measure, then offset the mark by half the kerf.
Cutting on the wrong side of the line
This is the same idea as marking, but at the tool end. If your blade rests on the far side of the line instead of the near side, the finished piece is off by the line thickness plus half the kerf. It is one of the easiest mistakes to make and one of the hardest to notice until the piece does not fit.
Tool Choice and Setup Matter More Than You Think
The right tool used correctly removes most of the variables that make cuts crooked. For wood, a sharp handsaw or a circular saw with a straight edge guide works well. For metal, the setup matters even more because the blade cannot correct itself the way a wood saw sometimes can.
Blade tension, blade angle, and material support all affect the cut. On a hacksaw, for example, too little tension lets the blade wander, while too much can snap it. Cutting at the wrong angle to the material changes how the teeth engage and can pull the blade off course. A workpiece that is not clamped securely will move slightly under pressure, and that movement shows up as a crooked edge.
Professionals often spend more time on setup — clamping, squaring, supporting, tensioning — than on the cut itself, because setup is where crooked cuts are prevented.
A Simple Checklist to Stop Crooked Cuts
- Confirm the reference edge is straight and that the tape hook sits flush against it.
- Mark with a fine tool — pencil for wood, scribe for metal. Keep the mark as thin as possible.
- Decide which side of the line the blade should follow, and stick to it.
- Account for blade kerf when the finished size matters.
- Clamp or support the workpiece so it cannot shift.
- Use a sharp blade suited to the material.
- Start the cut slowly to establish a clean groove, then maintain steady pressure.
- Check squareness of the cut as you go rather than only at the end.
Running through this list before the first cut takes less time than fixing a bad one.
Common Misconceptions That Cause Repeat Mistakes
Several beliefs quietly sabotage accuracy, even for careful workers.
“Measuring twice always prevents errors”
Measuring twice catches some mistakes, but it does not catch a bent tape hook, a worn tape, a misread diamond, or a technique problem. Measurement is one step in a chain, and the chain is only as strong as its weakest link.
“The blade follows the line automatically”
It does not. The blade follows the path of least resistance. On a straight cut in soft material with a sharp blade, that path is usually the line. On hard material, dull blades, or unsupported workpieces, it is not.
“Kerf is too small to matter”
For framing lumber, it usually is. For joinery, metal brackets, and precision assemblies, half a millimeter repeated across several cuts can make the difference between a tight fit and a loose joint.
“Any marking tool works”
A carpenter’s pencil is fine for rough layout but too thick for fine cuts. A scribe is ideal for metal but damages some finishes. Matching the marking tool to the material and the tolerance is part of the job.
Frequently Asked Questions
What is the diamond marking on a tape measure used for?
It marks 19.2-inch intervals, which let builders fit five framing members evenly into eight feet. It is a layout shortcut for framing, not a general-purpose measurement reference.
Why do my cuts come out short even when I measure correctly?
Most often, blade kerf. The saw removes material, so cutting exactly on the line produces a piece slightly smaller than the mark. Offset your cut by half the kerf when precise sizing matters.
Should I cut on the line, to the left of it, or to the right of it?
Whichever side preserves the finished dimension, and then stay consistent. Mark the waste side clearly so you always cut on the same side of the line.
Does a dull blade really cause crooked cuts?
Yes. A dull blade requires more pressure, deflects more easily, and tends to follow the grain or the material’s path of least resistance rather than your marked line.
How do I stop a hacksaw from drifting?
Tension the blade properly, clamp the workpiece securely, start the cut slowly, and use light, steady strokes. Matching the blade to the material and keeping it sharp also reduces drift significantly.
Is measuring twice still worth doing?
Absolutely — but it works best when combined with good marking, an appropriate tool, and an awareness of kerf. Measurement is one link in the chain, not the whole chain.
Conclusion
Crooked cuts rarely come from a single bad measurement. They come from a chain of small errors: a misread tape feature, a thick mark, blade drift, ignored kerf, or a workpiece that moved. Fixing the chain — not just the measurement — is what makes cuts land where you want them. Use a sharp marking tool, mark the waste side clearly, clamp your work, and choose a blade suited to the material. Do that, and measuring twice will finally do what you always expected it to do.