Glue guns are a versatile tool that can be used for various craft and repair projects. When it comes to using glue guns, the type of glue stick you choose is crucial. Waterproof glue gun sticks are ideal for projects that require resistance to water, such as outdoor decorations or repairing items exposed to moisture. In this article, we will guide you on how to use waterproof glue gun sticks safely, ensuring successful and long-lasting results.
Understanding Waterproof Glue Gun Sticks
Waterproof glue gun sticks are specially formulated to withstand water exposure. They are made from materials that do not dissolve or lose their adhesive properties when in contact with water. These glue sticks are great for gluing EVA foam and provide a strong bond, making them suitable for both indoor and outdoor projects.
Safety Precautions
Before using a waterproof glue gun stick, it is essential to follow some safety precautions to protect yourself and ensure flawless results. Here are some safety tips:
- Protective Gear: Wear safety goggles and gloves to shield your eyes and hands from potential hot glue drips or burns.
- Work Area: Use your waterproof glue gun in a well-ventilated area, away from flammable materials.
- Temperature Control: Set the glue gun to the recommended temperature for waterproof glue sticks. Most glue guns have adjustable temperature settings, ensuring proper melting of the glue stick without overheating.
- Proper Handling: Hold the glue gun with care, keeping your fingers away from the hot nozzle and barrel.
- Storage: Store your glue gun and glue sticks in a cool, dry place to maintain their effectiveness.
Step-by-Step Guide to Using Waterproof Glue Gun Sticks
Follow these steps to use waterproof glue gun sticks safely and effectively:
Step 1: Prepare Your Workspace
Choose a clean, flat surface to work on. Place a non-stick mat or a piece of cardboard to protect your work surface from any glue drips or spills.
Step 2: Heat Up the Glue Gun
Plug in your glue gun and allow it to heat up to the recommended temperature. This usually takes a few minutes. Refer to the manufacturer’s instructions for the specific temperature setting for waterproof glue sticks.
Step 3: Insert the Waterproof Glue Stick
Insert the waterproof glue stick into the back of the glue gun. Make sure it fits securely and is aligned with the nozzle.
Step 4: Allow the Glue Stick to Melt
Wait for the glue stick to melt completely. This may take a few minutes, depending on the temperature and the glue gun model. Avoid touching the hot glue as it can cause severe burns.
Step 5: Apply the Glue
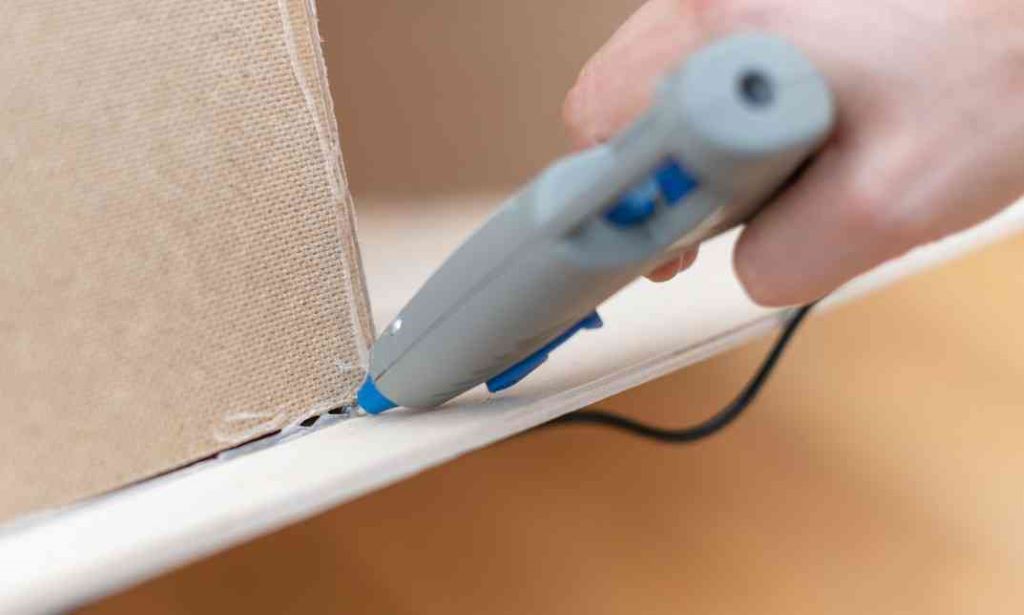
When the glue is fully melted, gently squeeze the trigger to apply the glue to the desired surface. Make sure to apply an even layer of glue, covering the area adequately. Move the glue gun smoothly and consistently to avoid any clumps or gaps.
Step 6: Bond the Surfaces
Immediately press the objects or surfaces together firmly. Ensure proper alignment and hold them until the glue sets. Waterproof glue gun sticks generally have a quick drying time, but it is recommended to give it some extra time to fully cure.
Step 7: Clean Up
After using the glue gun, unplug it and allow it to cool down. Remove any remaining glue sticks and store them properly. Clean the nozzle and barrel with a damp cloth to remove any dried glue residue.
Conclusion
Using waterproof glue gun sticks safely is crucial for achieving reliable and durable results. By following the step-by-step guide and adhering to the safety precautions, you can confidently undertake projects like replacing a tub with a shower pan, ensuring lasting resistance to water. Remember to always work in a well-ventilated area and wear protective gear to avoid any accidents.
Frequently Asked Questions (FAQs)
- Are waterproof glue gun sticks suitable for all materials?
Waterproof glue gun sticks are suitable for a wide range of materials, including wood, plastic, fabric, and even metal. However, it is always recommended to perform a small test before applying glue to ensure proper adhesion.
- Can waterproof glue gun sticks be used for underwater repairs?
While waterproof glue gun sticks are designed to resist water exposure, they may not be suitable for underwater repairs. It is best to use specialized underwater glue for such applications.
- How long does it take for the glue to dry?
The drying time of waterproof glue gun sticks varies depending on the brand and environmental conditions. Generally, it takes a few minutes for the glue to set, but it is advisable to wait for at least 24 hours for complete curing.
- Can I paint over the glued surface?
Yes, once the glue has fully cured, you can paint over the glued surface. Ensure that the paint is compatible with the materials being glued.
- Can I remove glued objects if needed?
Removing glued objects can be challenging, especially with waterproof glue gun sticks. If removal is necessary, gently apply heat to the glued area using a hairdryer to soften the glue and carefully separate the objects.
Remember, always exercise caution when using a glue gun and follow the manufacturer’s instructions for the best results and safety.